
How to Easily Assemble A Trampoline for Beginners
May 12, 2021
0 comments
You may think it's hard to assemble a trampoline, but it's not. You can easily and quickly finish the assembly process of a trampoline by following our guidelines step by step. You do not need to hire an expert or pay for a service, this instruction can save you both money and time. We will help you with the diagram, instructions and common problems.
How to measure trampoline diagram
It's quite important to be clear about the size firstly, then you can proceed with the following steps. The current sizes on market now are mostly measured by ft, no matter for round trampolines or rectangle trampolines or any other types. Only a part of mini types is measure by inch.
Since round trampolines outnumber other kinds of trampolines on the current market, we are taking round one as an example in this article to present the explanation. As you may find out, the search results are usually mentioning ft when you try to search trampolines on Google or Amazon. You can see 10ft, 12ft and 15ft for most of the time, since these are the most popular types now. By talking about ft, it's meaning the diameter of the jumping mat.
Assemble trampoline instructions
After confirming the right size, then you can follow our instructions to do a proper installation. We are gonna separate them into several steps by order for different parts. Assembly can be fast as soon as you follow our guidelines step by step.
- Set up steel framework
First of all, you need to set up the steel framework by matching the joints with frame rails and w-shaped legs. It might take a bit time if you do it alone. But you just need to match every T-connector with them, it won't be hard. The most vital notice to bear in mind is to keep the curved side at the bottom of w-shaped legs heading to the center to form a concentrating contact point, so it can be sturdy enough.
- Put every spring in position
After setting up the steel framework, it's time to put every hook in the drilled holes on it. It's quite easy and quick to put them in position.
- Hook jumping mat with springs
Hook the jumping mat in four directions( east, west, north and south) to fix the position of jumping mat. After that, finish hooking every spring with the jumping mat. But to remember, you have to use a tool to assist, not your bare hand.
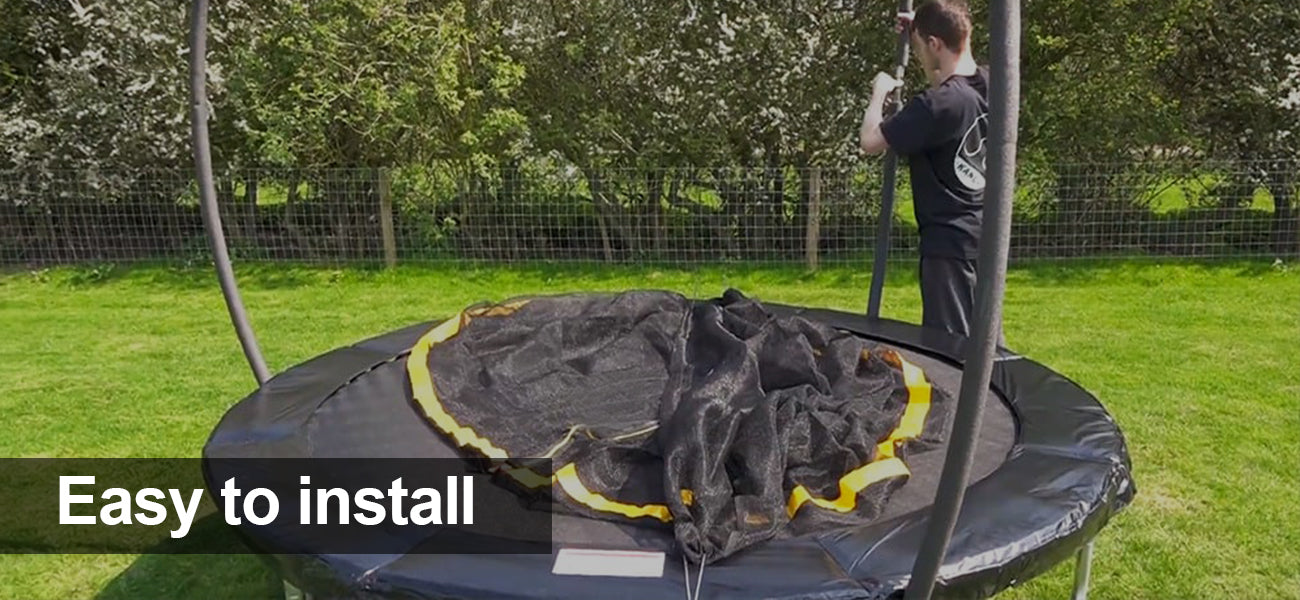
Assemble trampoline enclosure net
Usually, the installation for a trampoline is finished if you've done the above process. But just in any case, you want to add an enclosure net for additional safety, especially when you have children at home. You might want to know the assembly of it, too. Here follows our steps for assembling trampoline enclosure net.
Enclosure net is the combination of trampoline poles and net. It's designed to create a separate space while offering extra safety at the same time.
Set up trampoline poles
Trampoline poles are a basic and fundamental part of the enclosure. Nowadays, trampoline poles are made of galvanized steel to dramaticlly enhance the performance of anti-rust. A foam is attached together with it to increase the friction to hold the net tight and firm. For this part, you just need to put the foam on each pole.
Set up trampoline net
Net is a primary and indispensable part of the enclosure. There are many sleeves on the net, and you need to put the foam-padded poles into every sleeve. After that, please make sure you've capped every u-bolt cap into respectively drilled hole on the poles. This is very necessary because it holds the net stand up firmly and won't curve.
After everything is done, this process is completed. But some problems may occur during your installation. Kindly check our below part for answers to the common problems.
Trampoline assembly problems
Why is my trampoline bowing?
The problem might come from the enclosure net if your trampoline is bowing. There is a drilled hole in every pole for upper half, and an u-bolt cap in every pole for the lower half. Please make sure you've paired two halves together by capping every cap into the drilled holes. It couldn't possibly bow if you've done this.
Why is my trampoline not sturdy enough?
Your trampoline may be bending when it's not sturdy enough. So we'd like to repeat it again, it is significant to put the curved bottom heading to the center to form a focusing contact point. This falls in the field of Physical mechanics, but you just need to remember this, then it's enough to stabilize your trampoline. If you've done this, and it's still not sturdy, then the problem may occur from the bad quality of steel framework.
How to assemble a springfree trampoline?
Springfree trampolines are usually belonging to small types, so they will be much easier to assemble. You just need to match every elastic band with the holes in the jumping mat and the steel frame, then it will be ok. It can be all done by your bare hand.
Drop you comments now!
We'd feel very grateful if you've done reading this instruction. Maybe you want to add more content to the assembly of trampoline, and it is so welcoming.
We'd appreciate it if you can leave some comments for the improvement of this instruction. Or if you have anything want to say, please do not hesitate to comment!
